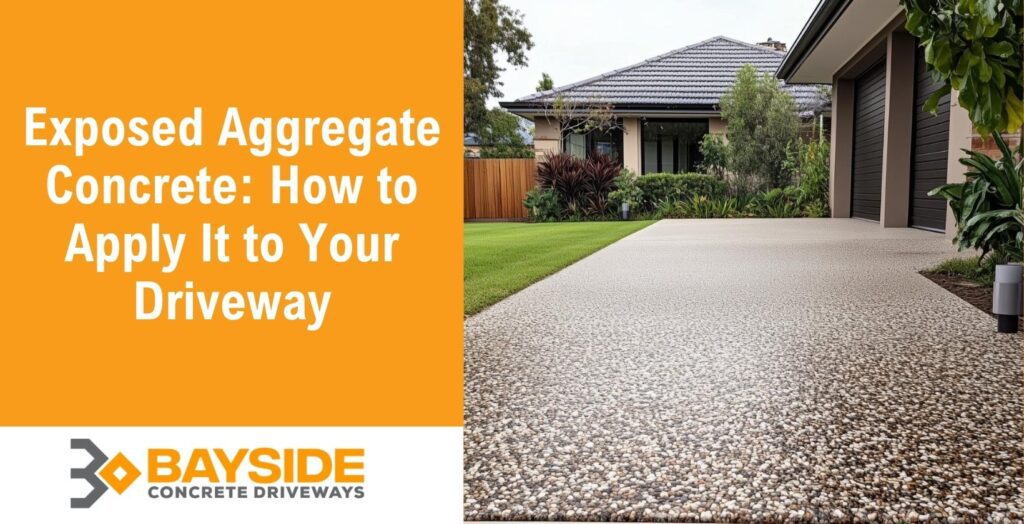
Exposed aggregate offers a sharp, textured finish that holds up well and turns heads. Many homeowners are choosing it for their concrete driveways because it balances grip, style, and durability. Done properly, it adds a clean, modern look that stands up to wear without much fuss.
In this blog, we’ll discuss how to prepare your driveway, apply exposed aggregate step by step, and keep the surface looking fresh with simple maintenance.
Steps to Prepare Your Driveway
Here are the steps to prepare your driveway:
Step 1: Assess Site and Plan
Measure the total driveway area to confirm it suits your layout and allows for easy access. Check the slope carefully to make sure water drains away from the property. Where natural runoff isn’t enough, install surface drainage or a pit to prevent water pooling and future damage.
Step 2: Choose the Right Aggregate
Select an aggregate that matches both the visual style and functional needs of your driveway. Granite creates a bold, coarse texture, quartz gives a refined and reflective look, and pebbles offer a smooth, natural finish. Each option changes how the surface looks, feels underfoot, and performs over time.
Step 3: Gather Necessary Tools and Materials
Prepare your tools before any concrete work begins to avoid delays. You need a mixer, wheelbarrow, screeds, floats, trowels, and edging tools. Bring safety gear—gloves, boots, and eye protection—and confirm that all materials are measured, on-site, and ready for use.
Exposed Aggregate Concrete Installation Steps
Here are the steps to install exposed aggregate concrete:
Step 1: Mix the Exposed Aggregate Concrete
Measure exact quantities of cement, sand, water, and aggregate to create a uniform mix. The ideal ratio is 1 part cement, 2 parts sand, and 3 parts aggregate for strength and consistency. This mix works well with exposed finishes and aligns with most concrete driveway options.
Step 2: Pour and Level
Pour the concrete directly onto the prepared subbase. Use a screed to level it immediately to a thickness of 100–125 mm, depending on expected traffic. Compact and smooth the surface to remove air pockets and allow for a clean finish.
Step 3: Expose the Aggregate
Begin exposing once the surface has set enough to hold shape, usually within 5 to 12 hours. Use a surface retarder, light abrasive blasting, or a water-and-brush technique to remove the cement paste from the top layer. The method depends on the aggregate type and finish required.
Step 4: Cure the Concrete
Keep the surface moist for 7 days to allow proper hydration and hardening. Cover with plastic sheeting or apply a curing compound to retain moisture. Curing prevents shrinkage cracks and
Tips to Seal and Maintain Your Exposed Aggregate Concrete Driveway
You should seal and maintain your exposed aggregate concrete driveway by applying a suitable sealer, following regular cleaning practices, and addressing wear and tear.
Apply a Suitable Sealer
Use a penetrating or film-forming sealer to lock in the surface finish and protect against oil stains, moisture, and UV exposure. Apply the sealer evenly with a roller or low-pressure sprayer, following the manufacturer’s instructions. Reapply every 2 to 3 years, depending on weather exposure and traffic levels.
Follow Regular Cleaning Practices
Clean the surface every 1 to 2 months using a broom and garden hose or low-pressure washer. Remove leaves, dirt, and debris to prevent staining or mould growth. For tougher marks, use a pH-neutral cleaner designed for decorative concrete surfaces.
Address Wear and Tear
Inspect the driveway every 6 months for cracks, chips, or dull patches in the sealed finish. Small surface issues should be repaired immediately to prevent water ingress and larger failures. Reseal damaged areas once repaired to maintain a consistent finish and strong surface protection.

